Dayforce HCM - How do I link my account for HRIS?
Last updated: September 3, 2026
Overview
To authenticate Dayforce HCM (formerly Ceridian Dayforce HCM) using your credentials, you will need to provide the following information:
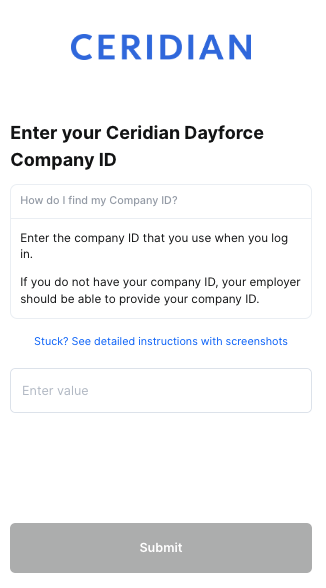
Company ID
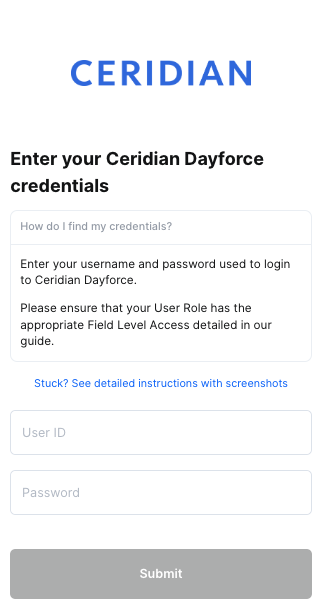
Credentials
This guide will walk you through finding or creating those credentials within Dayforce.
Prerequisites
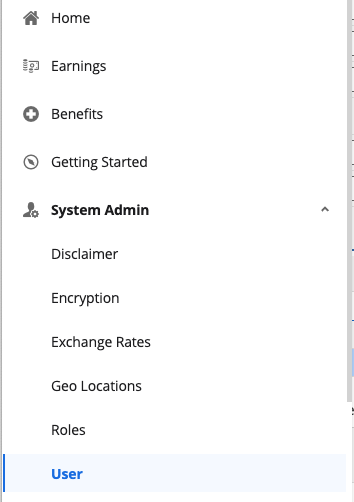
Please ensure that you update the Role that you are configuring for the integration to be the Default role. To change a Role to become your Default, go to System Admin > User. Find the User you want to update (this would likely be your own User), click on the User and select the "Is Default" checkbox to the Role that you will be configuring for this integration.
Instructions
Step 1: Configure Feature Access
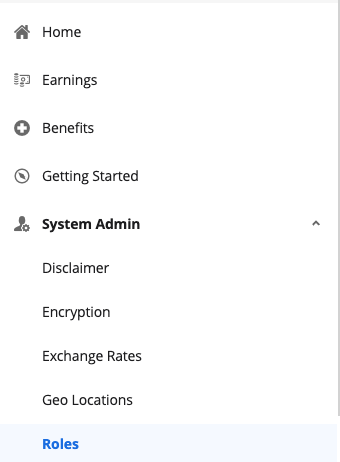
From the hamburger button in the top left of your screen, click on System Admin > Roles.
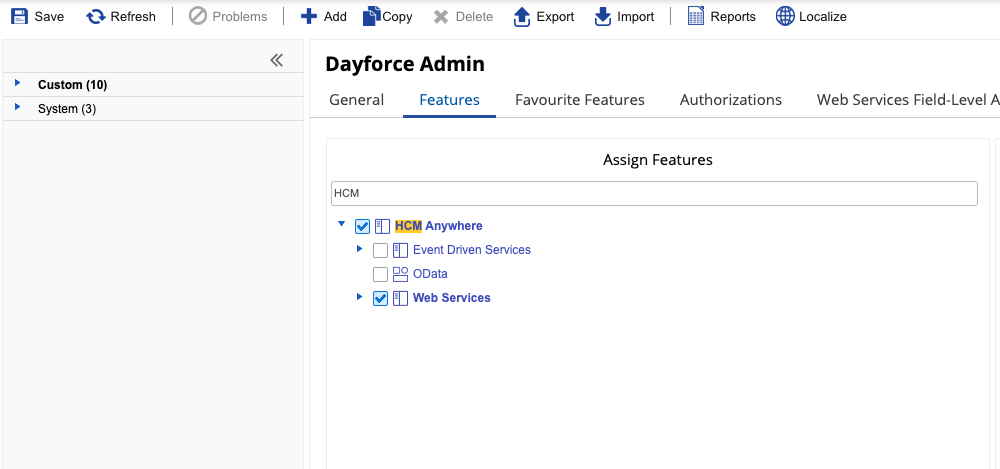
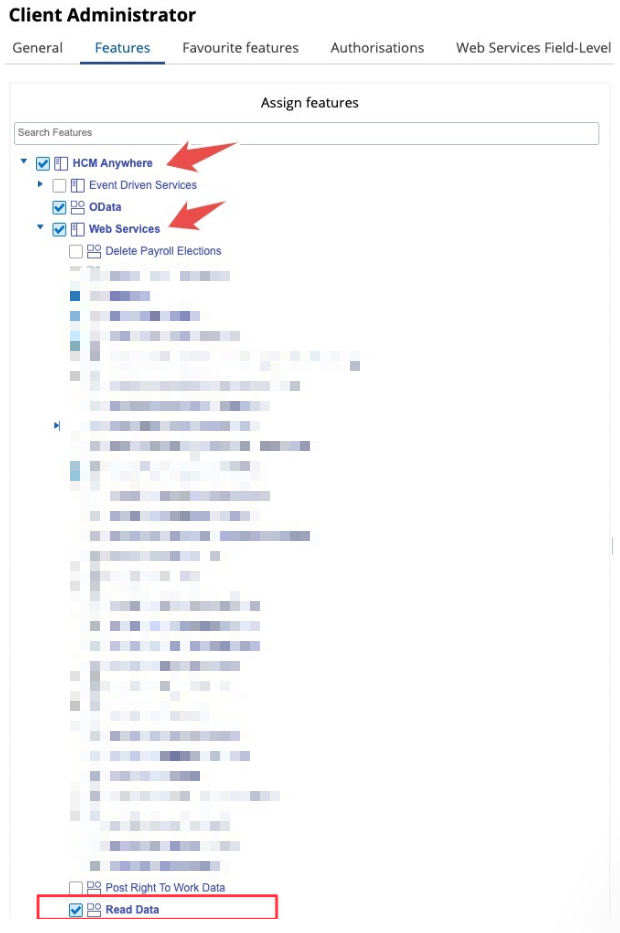
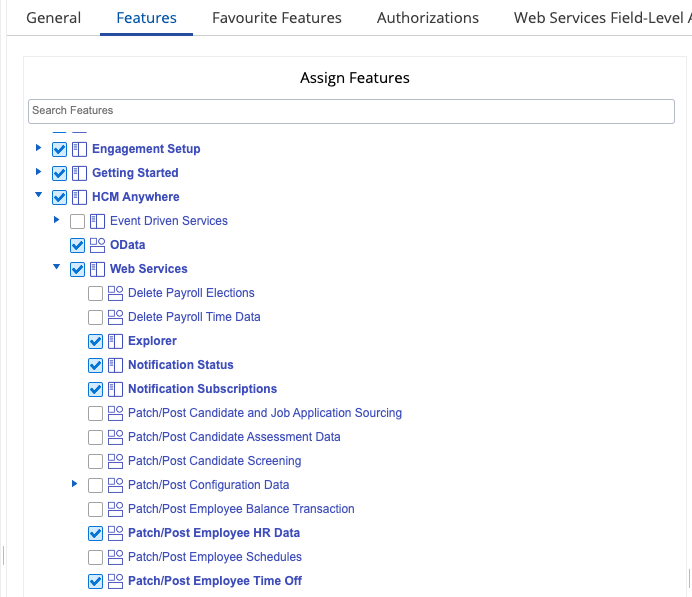
Navigate to Features. Ensure HCM Anywhere and Web Services are checked.
Expand Web Services and make sure that Read Data is checked. If you need to PATCH/POST data you will need the associated checkboxes marked as well.
Step 2: Configure Authorizations
Navigate to Authorizations.
Select Can Read for the following (depending on your use case):
Employee Contact Information
Employee Contact Information - Business
Employee Contact Information - Personal
Employee Financial Information
Employee Key Information
Employee Historic Pay Information
Employee Pay Information
Employee Personal Information
Employee Personal Information XrefCode
Employee Profile – Security Settings – Role
Employee Properties *for custom fields*
Employee Status Information
Employee Work Assignment – Primary Records
Employee Work Assignment – Secondary Records
User Information
Step 3: Configure Web Services Field-level Access
Navigate to Web Services Field-level Access.
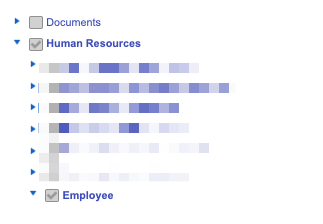
Navigate to the RESTful Services -> Human Resources -> Employee:
.
Enable EffectiveStart, EffectiveEnd, and XRefCode.
Then, depending on your use case:
If you want to pass over names:
Enable FirstName and LastName and CommonName.
If you want to pass over managers:
Right-click Employee managers and Select All.
If you want to pass over employment status:
Right-click Employment Statuses and Select All.
Right-click Employment Status Group and Select All.
If you want to pass over location information:
Right-click Locations and Select All.
If you want to pass over employment information:
Enable RESTful Services > Human Resources > EmployeeWorkAssignment (and all child nodes).
If you want to pass over pay information:
Enable RESTful Services > Human Resources > EmployeeCompensation (and all child nodes).
If you want to pass over emails/contact information:
Enable Contacts and Addresses (and all child nodes) under RESTful Services > Human Resources > Employee.
If you want to pass over Social Security Number:
Enable RESTful Services > Human Resources > socialSecurityNumber.
If you want to pass over gender:
Enable Gender.
If you want to pass over marital status:
Enable MaritalStatus.
If you want to pass over date of birth:
Enable BirthDate.
If you want to pass over start date or hire date:
Enable StartDate and HireDate and OriginalHireDate.
If you want to pass over Groups:
Enable RESTful Services > Configuration > Location (and all child nodes) AND RESTful Services > Human Resources > OrgUnitInfos.
If you want to pass over Time Off:
Enable RESTful Services > Human Resources > Workforce Management > EmployeeTimeAwayFromWork (and relevant child nodes)
If you want to pass over Custom Fields (employee properties):
Enable RESTful Services > Human Resources > EmployeePropertyValue.
Step 4: Configure Org-Level Access
Navigate to System Admin > User. Please note, the user authenticating will need "Can See Self" enabled.
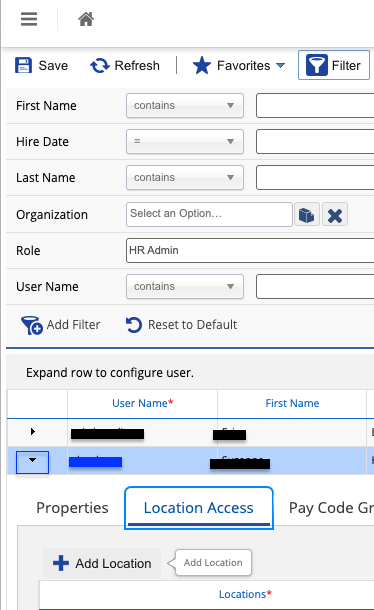
Expand the User by clicking on the small down arrow as shown in the blue box below. Click on Location Access, + Add Location, and add the Company Level Location.
Step 5 (optional): Configure Role Assignment for POST & PATCH
Skip this step if there are no updates being pushed to Dayforce (rather than pulled from Dayforce)
If you need support for writes functionality (ie POST /Time-Off), please configure the following as well.
From the hamburger button in the top left of your screen, click on on System Admin > Roles.
Navigate to Features. Ensure under HCM Anywhere and Web Services Patch/Post Employee Time Off is enabled.
Step 6: Authenticate with your credentials in the linking flow
Gather your Company ID, User Name, and Password. Enter them into the linking flow and click Submit.